Monday, October 8, 2012

 
We made sure to paint the stripes over the door as well - you can hardly see it!
Another thing we did was switch out the switch, the outlets, and their covers for black ones. The stuff in the house was original to when the house was built in 1965, and plugs did not want to stay plugged in! We decided black would be sharp, and it turned out nicely.


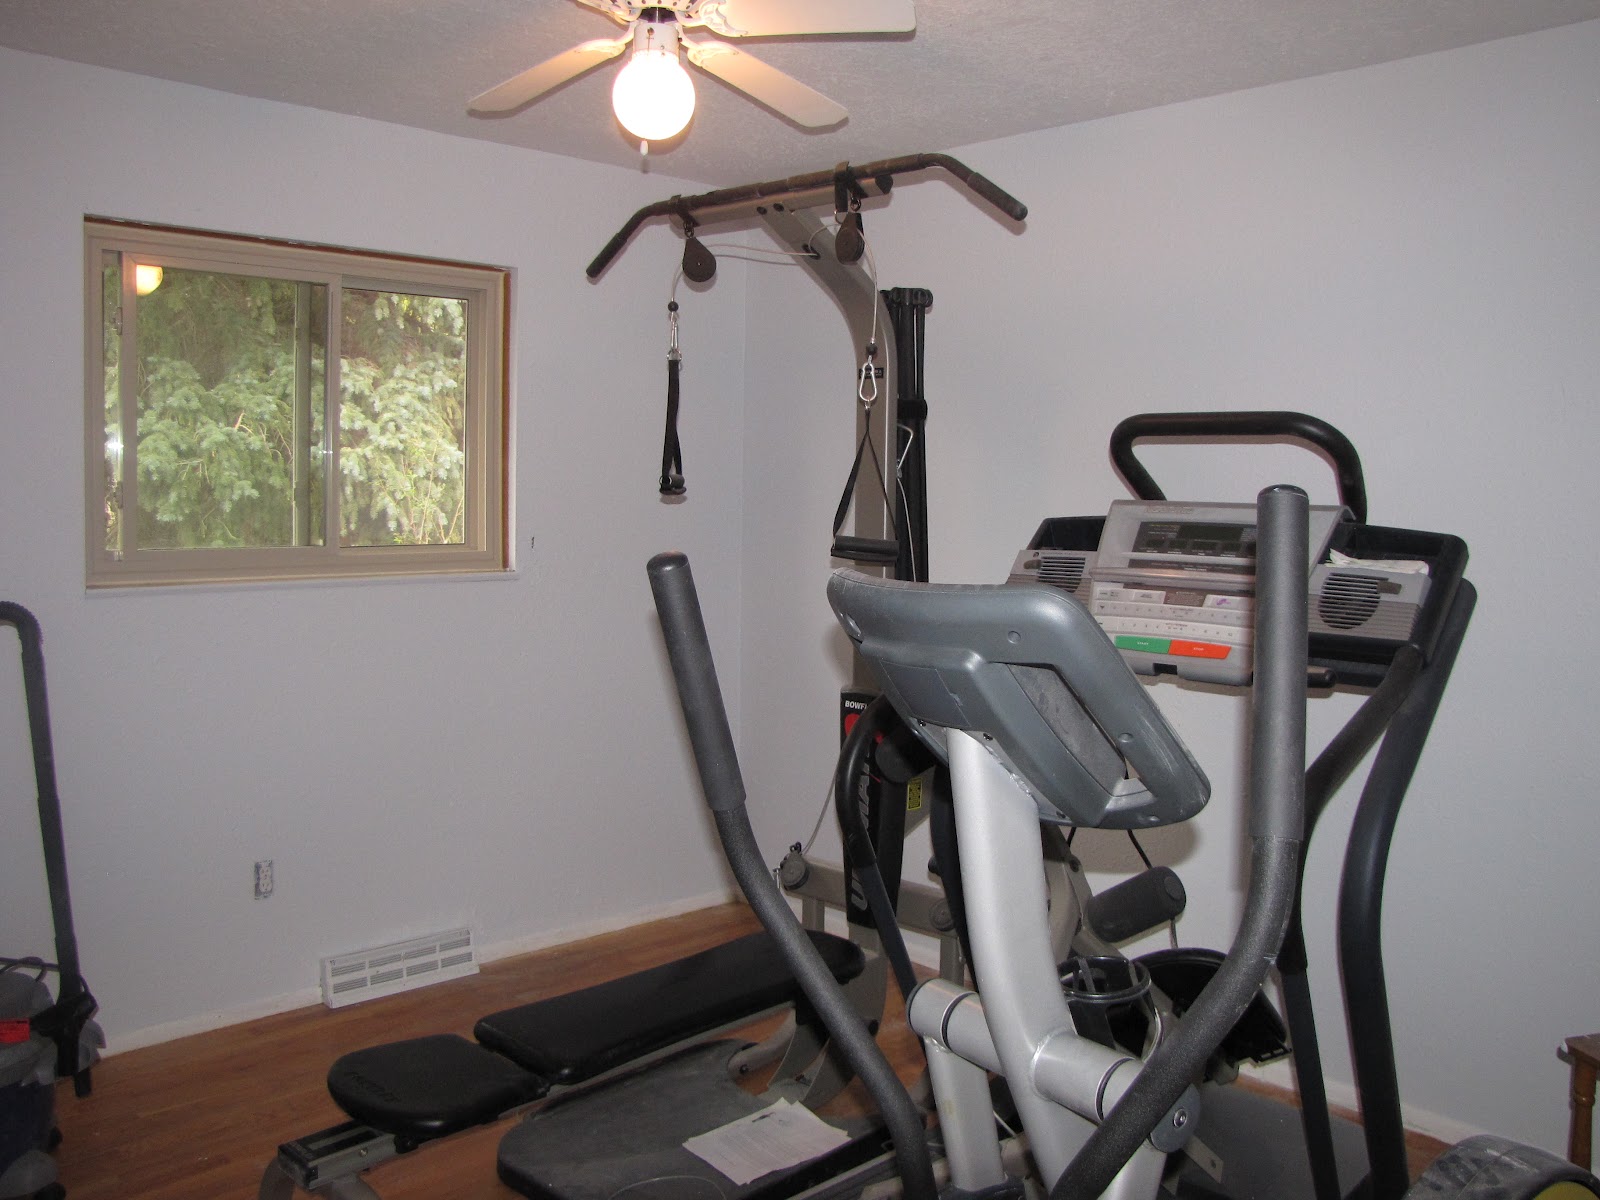
The ceiling fan will be replaced with a black one in the near future - this one is so freakin' ugly I can't stand it! It's just more of that cheap, ugly country style I hate!

 
Marilyn, in all her glory. This one is my favorite, and it is on the wall by itself.

 
Had to throw my lone Audrey Hepburn pic - I loved her.


You can see where the stripes do not quite touch the ceiling. We are going to put up white crown moulding to give the room a snazzy finished look.


We kept the bamboo blind because a touch of natural material in this modern-looking room is nice.


We will be posting more pics when the moulding goes up, the ceiling fan is replaced, and the floor is fixed.

Did someone say stripes?

Why yes - yes I did!


Measuring and marking the walls to ensure the lines are straight takes a while. We had a good laser leveler that stuck onto the wall that made our job a little easier. What I did was mark each line near the top of the wall, at the middle of the wall, and near the bottom of the wall, using the leveler as a guide. You can make as many marks as you are comfortable with - I chose to keep it simple with only three. I made the stripes 12 inches wide.


 It's important to make sure you are consistent and lining up the tape on the outside of the marked spots on both sides of the stripe - that way, you maintain the true measurement, and don't have stripes that are all different widths, unless that is your approach. I also marked the inside of each stripe area with a lightly penciled X so I would not paint the wrong area.


It's important to remove the painter's tape fairly soon after painting - you don't want it to pull the paint away when you remove it. It's also important to remember to wait until the surface you are applying the tape to is completely dry, or it will pull the paint away when you pull the tape off.


 Take your time. Don't try to paint something as complicated as stripes if you don't have the time to devote to doing it right.


I love stripes, and I am glad we did this in our exercise room. I do wish I had made the stripes a bit wider, but other than that, I think it turned out pretty damn nice.

Tips for painting...


I have painted every room in my house, and boy do I wish I had known then what I know now. All I can say is - do yourself a favor and paint the corners and edges FIRST! After you remove everything like switch and outlet covers and window treatments and their screws/nails/latches, use a brush for the corners and the edges, and a roller for the walls and ceiling. Get the areas taped off first so you don't get the wrong color on the ceiling or on the floor or trim, and get the edges done. It just makes the whole painting project go so much smoother if you do. Make sure you paint enough out from the corner or the edge that your roller won't accidentally paint the edge anyway. Don't forget to paint the inside of the window casing as well!


Don't forget the tarp!


You can see how very light the light gray is - just enough to color the walls but not enough to darken the room too much.


Keep the window open if it's not too cold - you'll need to breathe.
Isn't the color gorgeous?
 

Tarp is off, walls are done, and yes - I actually left the ceiling white in this room. I'm going for an airy, light feeling so I will want to work out, and that required me to ignore my instinct to remove all white surfaces and leave the ceiling alone.


Always gotta make sure you have the right tools for the job. A little drywall tape, a little mud, a boatload of brushes, rollers, and painting tape, and a lot of willingness to sweat your ass off. Oh, and tarp to protect whatever you don't want to get paint on, because no matter how careful you are, paint will drip, and it will drip on the very thing you are trying to avoid - just because! (see the missing wood in the floor? dang it!)
So, here are the walls and ceiling with the closet gone, and the drywall removed. Unfortunately, that also means there are parts of the wood floor that needs repairing, but like I said - we will address that at a later date. We have also applied primer to the walls. A lot of folks think primer is a waste of time and money, but when you are covering dark colors, it is your best friend. Had we left the orange and blue walls alone and just painted over them, it would have altered the color of the grey and made it darker. The LAST thing I wanted was for the shade of gray I picked to be different because I would not pop for a can of primer. Kilz is the absolute best, but any primer works just fine.


 Got the walls patched. A good mud compound is a must - just ask someone in your local home improvement store for their suggestion. If you apply it properly, and sand it correctly when it is dry, you will never know there was ever a hole in the drywall. Just make sure you paint primer over the mudded area - once you paint it will be discolored if you don't.

I had to have Lolo get up on a ladder to patch the ceiling - I am deathly afraid of heights. Make sure you use drywall screws, not nails when patching or hanging drywall.


I LOVE demolition! The closet came out pretty fast. The framework was good and solid - gotta love good, old-fashioned building quality.


The only really bad thing is the damage to the wood floors. We will have to have the pros some in later to patch the holes where the closet was, and to sand and refinish them to their original glory. So very glad we found the wood floors under the old, crappy carpet, though!


Time to touch-up the paint in other areas of the house!


Just trying to keep the dust down to a minimum is a chore - I heartily recommend you seal off a room where drywall is being removed, and where that blown insulation crap from the attic has a chance to escape - it gets everywhere, and it's itchy (especially if it's older). We got a good-size roll of plastic sheeting for about $17.00 from Lowes, and we were able to cut sections to size for our needs.

Oh, save us from bad colors...

Let me introduce you to what used to be our youngest son's bedroom. Painted in all it's glory in Denver Bronco blue and orange. Not bad colors for a boy's bedroom, but very bad colors for an exercise room.


When the youngest requested one of the bedrooms in the basement, we readily agreed. With my arthritis, it was extremely painful to go up and down the stairs to work out. So I never did. Which was a shame - we have a Bowflex, a treadmill, and an elliptical machine. All of which I love using.


The room upstairs is a good size. It's roomy, it has a big window (but the blue and orange make it feel so dark) and it's right next to my bedroom - total bonus for me. We even decided we could get more room if we tore down the closet, so we did.


Poor Lolo, always just going along with my home improvement projects. I think he secretly loves them, but always just makes it seem like he is humoring me. Whatever - as long as it gets done I don't care in the slightest.


So, my vision for this room is contrasting shades of gray. Light gray in the background, with dark gray stripes. Oh, and a permanent home for our really cool collection of Marilyn Monroe stuff.